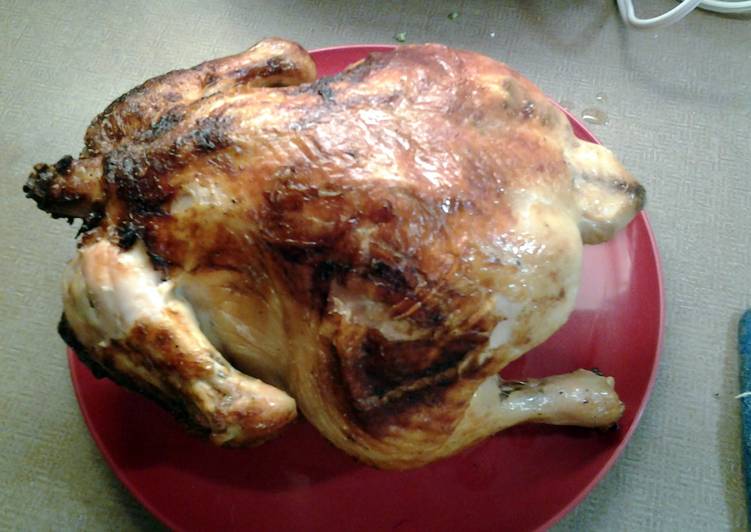
Hey everyone, it is Louise, welcome to our recipe site. Today, I will show you a way to make a distinctive dish, can in the rear roast chicken. One of my favorites food recipes. For mine, I’m gonna make it a bit tasty. This will be really delicious.
Can in the Rear Roast Chicken is one of the most popular of current trending meals on earth. It is appreciated by millions daily. It is easy, it is fast, it tastes yummy. They’re fine and they look fantastic. Can in the Rear Roast Chicken is something that I have loved my entire life.
Chickens that have been raised in confined conditions are usually smaller in size and less flavoursome. They are also reared on feed that Chicken is an extremely versatile food that can be cooked in a number of ways. Roasting a chicken is a simple and easy way of cooking the bird and.
To begin with this particular recipe, we must first prepare a few components. You can have can in the rear roast chicken using 7 ingredients and 10 steps. Here is how you cook it.
The ingredients needed to make Can in the Rear Roast Chicken:
- Make ready 1 whole chicken about 5lbs
- Take 1 lemon
- Make ready 1 small onion
- Take 2 clove garlic
- Prepare 1 empty aluminum can 12-16oz cleaned
- Get 4 tbsp melted butter or olive oil
- Take 1/2 cup water
A roast chicken recipe is easy to prepare and makes a tasty one-pot meal when cooked up with your favorite root vegetables. For more tips on how to cook a whole chicken in the oven, check out the complete recipe below. A printable copy of this Roasted Chicken Recipe can be found at http. Roast Chicken and Chicken Gravy are two must have recipes everyone should have in their recipe box!
Instructions to make Can in the Rear Roast Chicken:
- Brine chicken (see my poultry brine recipe.) Rinse chicken and pat dry. Make sure to remove chicken insides!
- Wash and rinse your can. I find a 16oz works best and carefully enlarge the opening
- Chop lemon, onion into pieces that will fit in can.
- Crush garlic and add to can.
- Add water to fill can 3/4 full and place in baking dish
- Place chicken on top of can with legs down. This will support chicken while cooking and ingredients will infuse flavor.
- Brush bird with melted butter or olive oil. I don't add any other seasonings because if you brine first you don't need to. If you didn't brine (which I highly suggest brining) you would want to season with salt, pepper ect.
- Bake for 35-40 min; remove and baste again. Return to oven and bake another 35-40min or until meat therm reaches 165
- If roasting veggies add them before you put the bird in for the second time.
- Remove from oven and carefully remove can and place bird on serving plate. Cover loosely with foil and let rest 10-15min before carving.
Knowing how to roast a chicken is a game You can use this chicken in countless recipes or of course it's delicious eating it freshly carved. I used to be one that would only reach for chicken. Place chicken in the center of the skillet. You can also arrange some veggies around the bird for a built-in side dish , as in the recipes below. That's because our Cast-Iron Roast Chicken has been tirelessly tested and optimized to cut out all of those annoying steps that people swear are crucial.
So that’s going to wrap it up for this special food can in the rear roast chicken recipe. Thank you very much for your time. I am confident you will make this at home. There is gonna be more interesting food in home recipes coming up. Don’t forget to bookmark this page on your browser, and share it to your family, friends and colleague. Thanks again for reading. Go on get cooking!